更新日:

作成手順
"multi_step_form"という名前でモジュールを作成していきます。
1. モジュール用ディレクトリを作成する
まずは、モジュール用ディレクトリを作成します。
cd /your/drupal/path
cd modules
mkdir multi_step_form
2. info.ymlを作成する
モジュール情報ファイルを作成していきます。今回はフォームを作成するのみなので、シンプルな内容になります。ここまでは通常のモジュール作成と同様です。
name: Multi Step Form
description: Creates a Multi Step Form Sample.
package: Custom

type: module
core: 8.x
3. 基底クラスを作成する
マルチステップフォームの基底クラスを作成します。各画面で入力した内容を一時的に保存する領域を用意します。
<?php
/**
 * @file
 * Contains Drupal\multi_step_form\Form\MultiStepFormBase
 */

namespace Drupal\multi_step_form\Form;


use Drupal\Core\Form\FormBase;
use Drupal\Core\Form\FormStateInterface;
use Drupal\Core\Session\AccountInterface;
use Drupal\Core\Session\SessionManagerInterface;
use Drupal\user\PrivateTempStore;
use Drupal\user\PrivateTempStoreFactory;
use Symfony\Component\DependencyInjection\ContainerInterface;

abstract class MultiStepFormBase extends FormBase
{
  /** @var  PrivateTempStoreFactory */
  protected $tempStoreFactory;

  /** @var  SessionManagerInterface */
  protected $sessionManager;

  /** @var  AccountInterface */
  protected $currentUser;

  /** @var  PrivateTempStore */
  protected $store;

  /**
   * Constructs a MultistepFormBase.
   *
   * @param PrivateTempStoreFactory $temp_store_factory
   * @param SessionManagerInterface $session_manager
   * @param AccountInterface $current_user
   */
  public function __construct(
    PrivateTempStoreFactory $temp_store_factory,
    SessionManagerInterface $session_manager,
    AccountInterface $current_user
  ) {
    $this->tempStoreFactory = $temp_store_factory;
    $this->sessionManager   = $session_manager;
    $this->currentUser      = $current_user;

    $this->store = $this->tempStoreFactory->get('multistep_data');
  }

  /**
   * {@inheritdoc}
   */
  public static function create(ContainerInterface $container)
  {
    return new static(
      $container->get('user.private_tempstore'),
      $container->get('session_manager'),
      $container->get('current_user')
    );
  }

  /**
   * {@inheritdoc}
   */
  public function buildForm(array $form, FormStateInterface $form_state)
  {
    // アノニマスユーザの場合、最初にセッションを開始する。
    if ($this->currentUser->isAnonymous() && !isset($_SESSION['multistep_form_holds_session'])) {
      $_SESSION['multistep_form_holds_session'] = true;
      $this->sessionManager->start();
    }

    $form                      = [];
    $form['actions']['#type']  = 'actions';
    $form['actions']['submit'] = [
      '#type' => 'submit',
      '#value' => $this->t('Submit'),
      '#button_type' => 'primary',
      '#weight' => 10,
    ];

    return $form;
  }

  /**
   * Saves the data from the multistep form.
   */
  protected function saveData()
  {
    // TODO: データ保存

    // 一次データ削除
    $this->deleteStore();

    drupal_set_message($this->t('The form has been saved.'));
  }

  /**
   * Helper method that removes all the keys from the store collection used for
   * the multistep form.
   */
  protected function deleteStore()
  {
    $keys = ['name', 'email'];
    foreach ($keys as $key) {
      $this->store->delete($key);
    }
  }
}
まず、コンストラクタで必要なプロパティを用意していきます。tempStoreFactoryは一時的にデータを保持するstoreを作成するためのファクトリーオブジェクトです。sessionManagerはセッションを管理するためオブジェクト、currentUserは現在のアカウント情報のオブジェクトでアノニマスユーザか判断するために使用します。通常は、コンストラクタでこのような引数を持ちませんが、create()メソッドを使うことで、指定のデータをコンストラクタの引数として渡すことができます。
buildForm()では、最初にアノニマスユーザがアクセスしてきた場合のセッション開始ロジックを記載しておきます。
saveData()でデータの保存ロジックを用意しますが、今回は割愛します。
deleteStoreで一時データを削除します。
4. フォーム1を作成する
ステップ1用のフォームクラスを作成します。
<?php
/**
 * @file
 * Contains Drupal\multi_step_form\Form\MultiStepFormOne
 */

namespace Drupal\multi_step_form\Form;


use Drupal\Core\Form\FormStateInterface;

class MultiStepFormOne extends MultiStepFormBase
{
  /**
   * {@inheritdoc}
   */
  public function getFormId()
  {
    return 'multi_step_form_one';
  }

  /**
   * {@inheritdoc}
   */
  public function buildForm(array $form, FormStateInterface $form_state)
  {
    $form         = parent::buildForm($form, $form_state);
    $form['name'] = [
      '#type' => 'textfield',
      '#title' => t('Name'),
      '#default_value' => $this->store->get('name')
    ];

    $form['actions']['submit']['#value'] = $this->t('Next');

    return $form;
  }

  /**
   * {@inheritdoc}
   */
  public function submitForm(array &$form, FormStateInterface $form_state)
  {
    $this->store->set('name', $form_state->getValue('name'));

    $form_state->setRedirect('multi_step_form.step_two');
  }
}
今回は名前のみのフォームにします。buildForm()内で、名前項目を設定します。
submitForm()では、取得した値を一時保存用のstoreに格納し、フォーム2にリダイレクトしています。では続いてフォーム2を作成していきましょう。
5. フォーム2を作成する
ステップ2のフォームを作成していきます。このフォームを最後のフォームとします。
<?php
/**
 * @file
 * Contains Drupal\multi_step_form\Form\MultiStepFormTwo
 */

namespace Drupal\multi_step_form\Form;


use Drupal\Core\Form\FormStateInterface;

class MultiStepFormTwo extends MultiStepFormBase
{
  /**
   * {@inheritdoc}
   */
  public function getFormId()
  {
    return 'multi_step_form_two';
  }

  /**
   * {@inheritdoc}
   */
  public function buildForm(array $form, FormStateInterface $form_state)
  {
    $form = parent::buildForm($form, $form_state);
    $form['email'] = [
      '#type' => 'email',
      '#title' => t('Email'),
      '#default_value' => $this->store->get('email')
    ];

    return $form;
  }

  /**
   * {@inheritdoc}
   */
  public function submitForm(array &$form, FormStateInterface $form_state)
  {
    $this->store->set('email', $form_state->getValue('email'));

    // データ保存
    parent:$this->saveData();
    $form_state->setRedirect('multi_step_form.step_one');
  }
}
buildForm()はフォーム1と同様に作成します。今回はメールアドレスを表示します。フォーム1と違う部分はsubmitForm()部分で、最後のフォームとなるのでstoreにデータを保存した後に、saveData()を呼び出し、データの保存処理を実行するようにします。その後、完了後の画面にリダイレクトしましょう。今回はフォーム1にリダイレクトして、メッセージを表示するようにしています。
6. routing.ymlを作成する。
最後に、ルーティングファイルをを用意します。今回は2つのフォームなので、2つのルーティングを用意します。
multi_step_form.step_one:
  path: '/multi-step-form/one'
  defaults:
    _form: '\Drupal\multi_step_form\Form\MultiStepFormOne'
    _title: 'First form'
  requirements:
    _permission: 'access content'

multi_step_form.step_two:
  path: '/multi-step-form/two'
  defaults:
    _form: '\Drupal\multi_step_form\Form\MultiStepFormTwo'
    _title: 'Second form'
  requirements:
    _permission: 'access content'
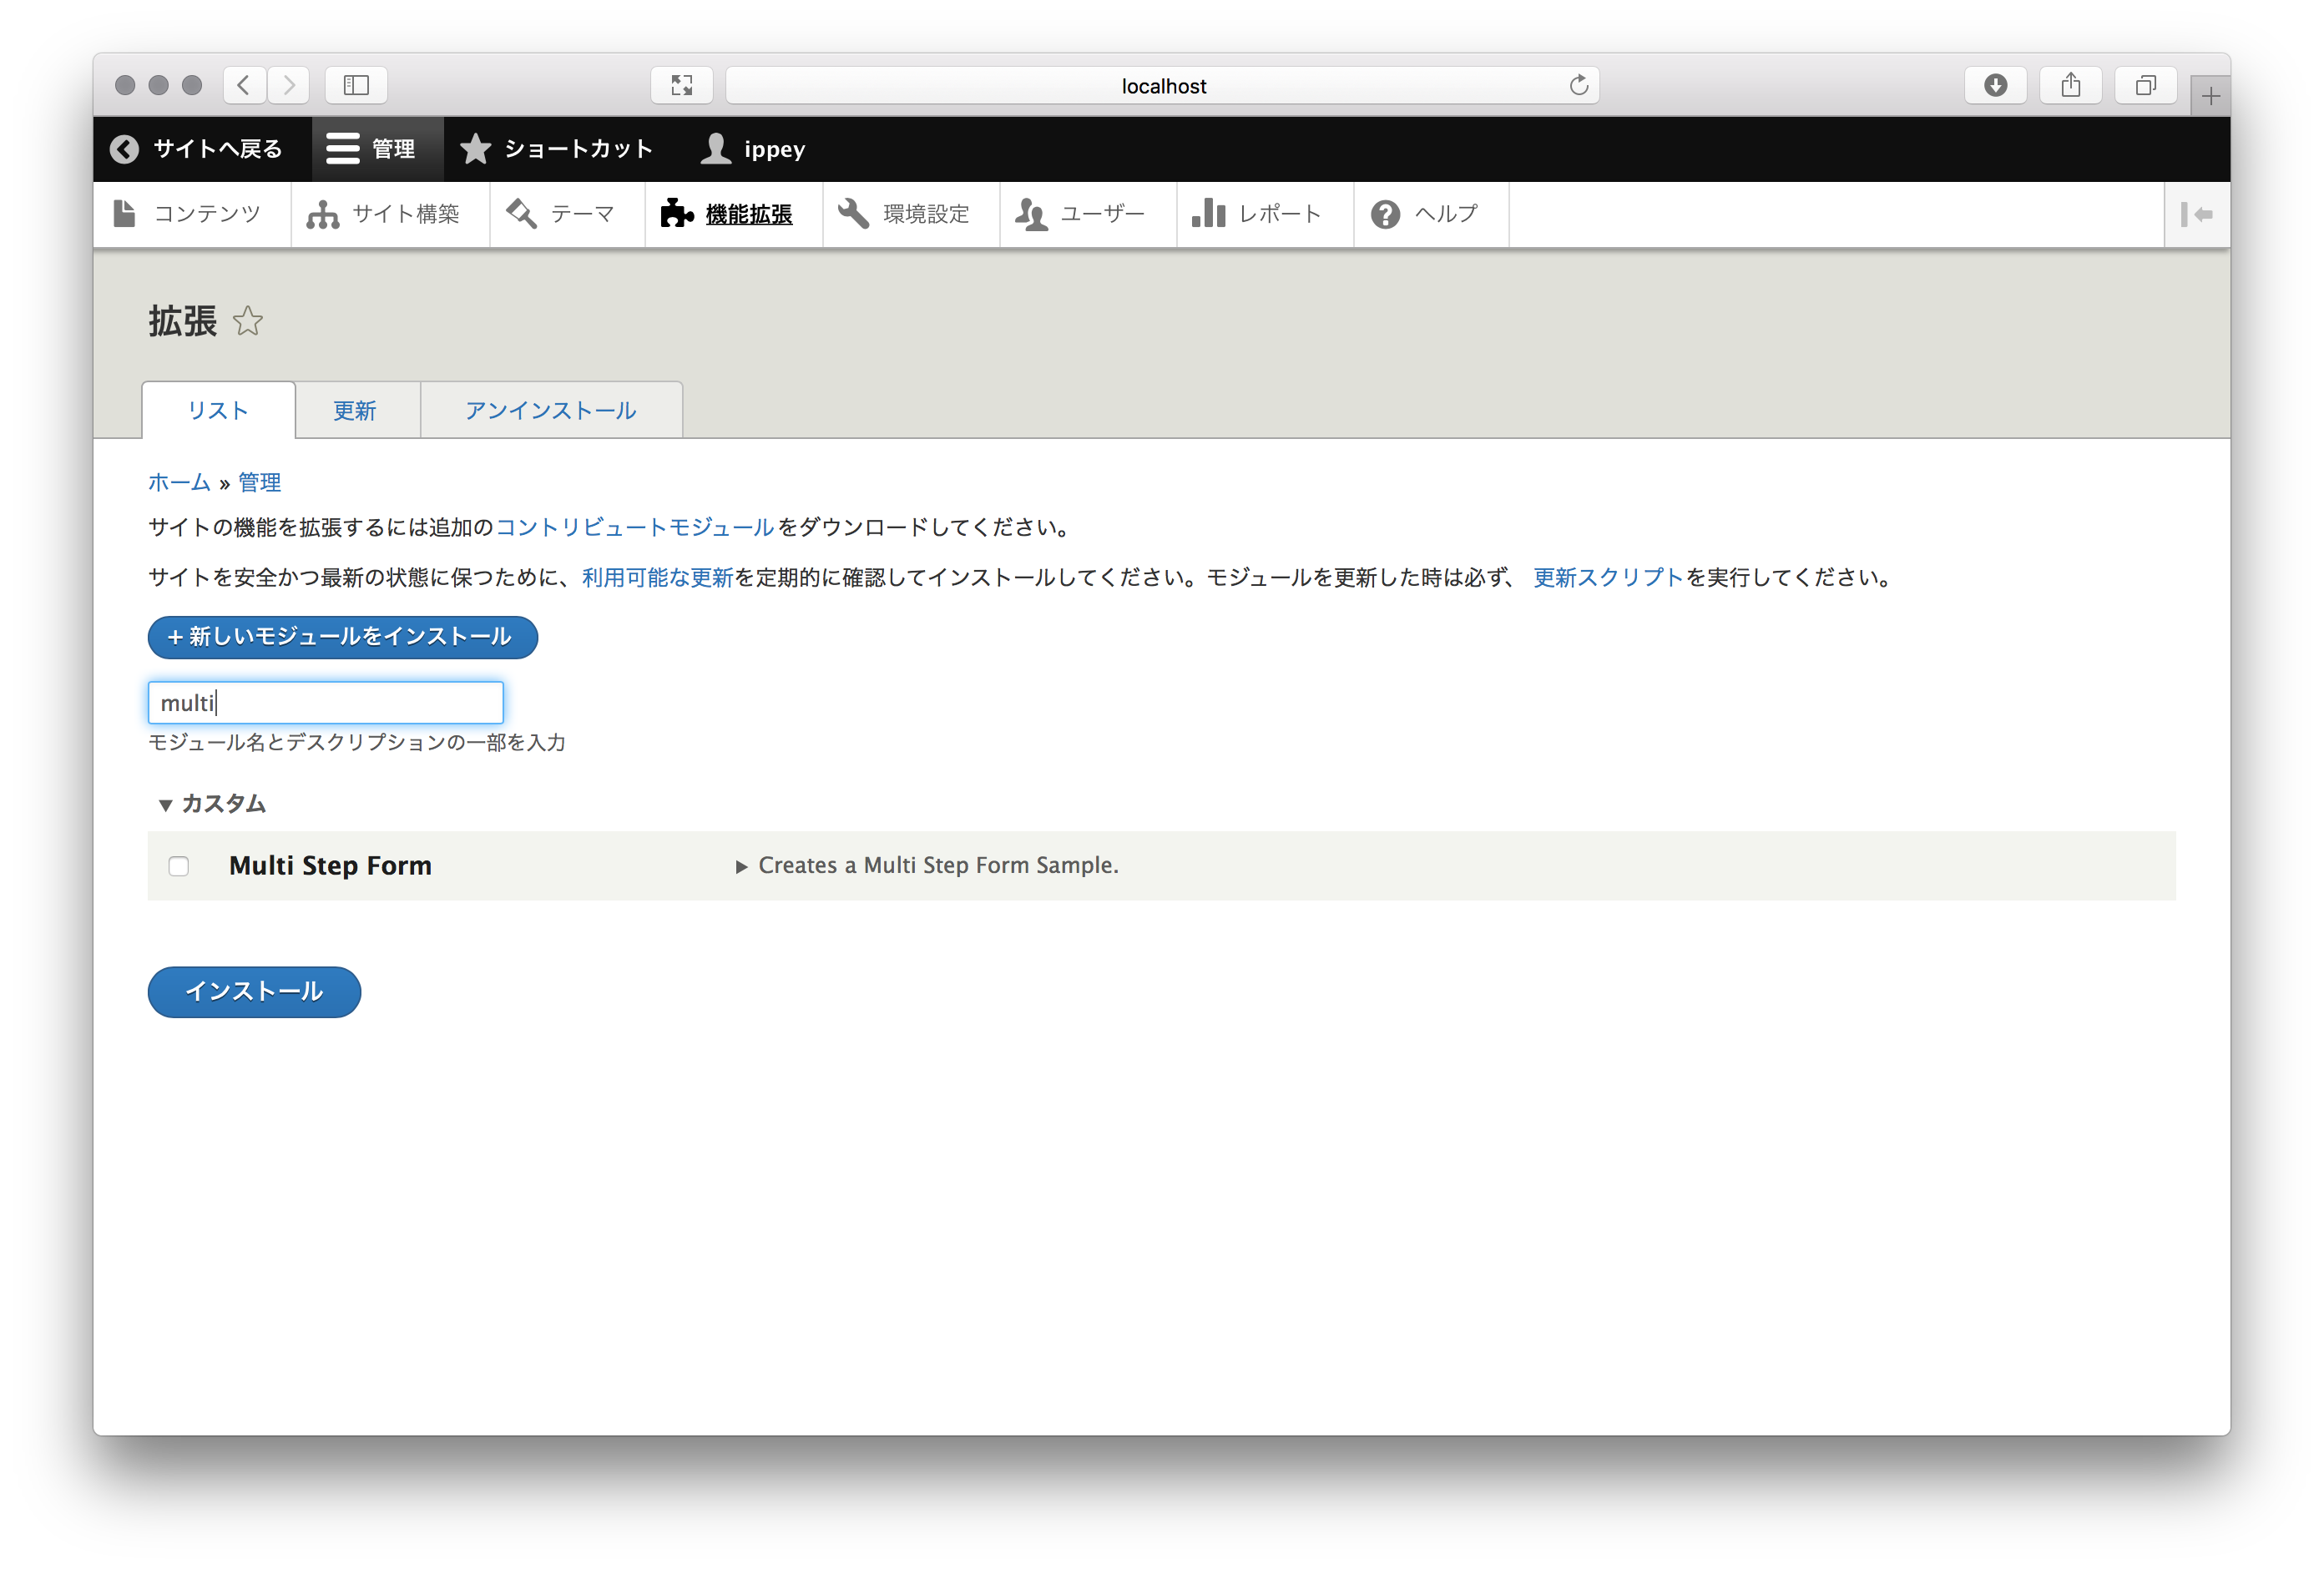
7. モジュールインストール
/admin/modulesにアクセスし、モジュールをインストールして動作を確認しましょう。
8. 動作確認
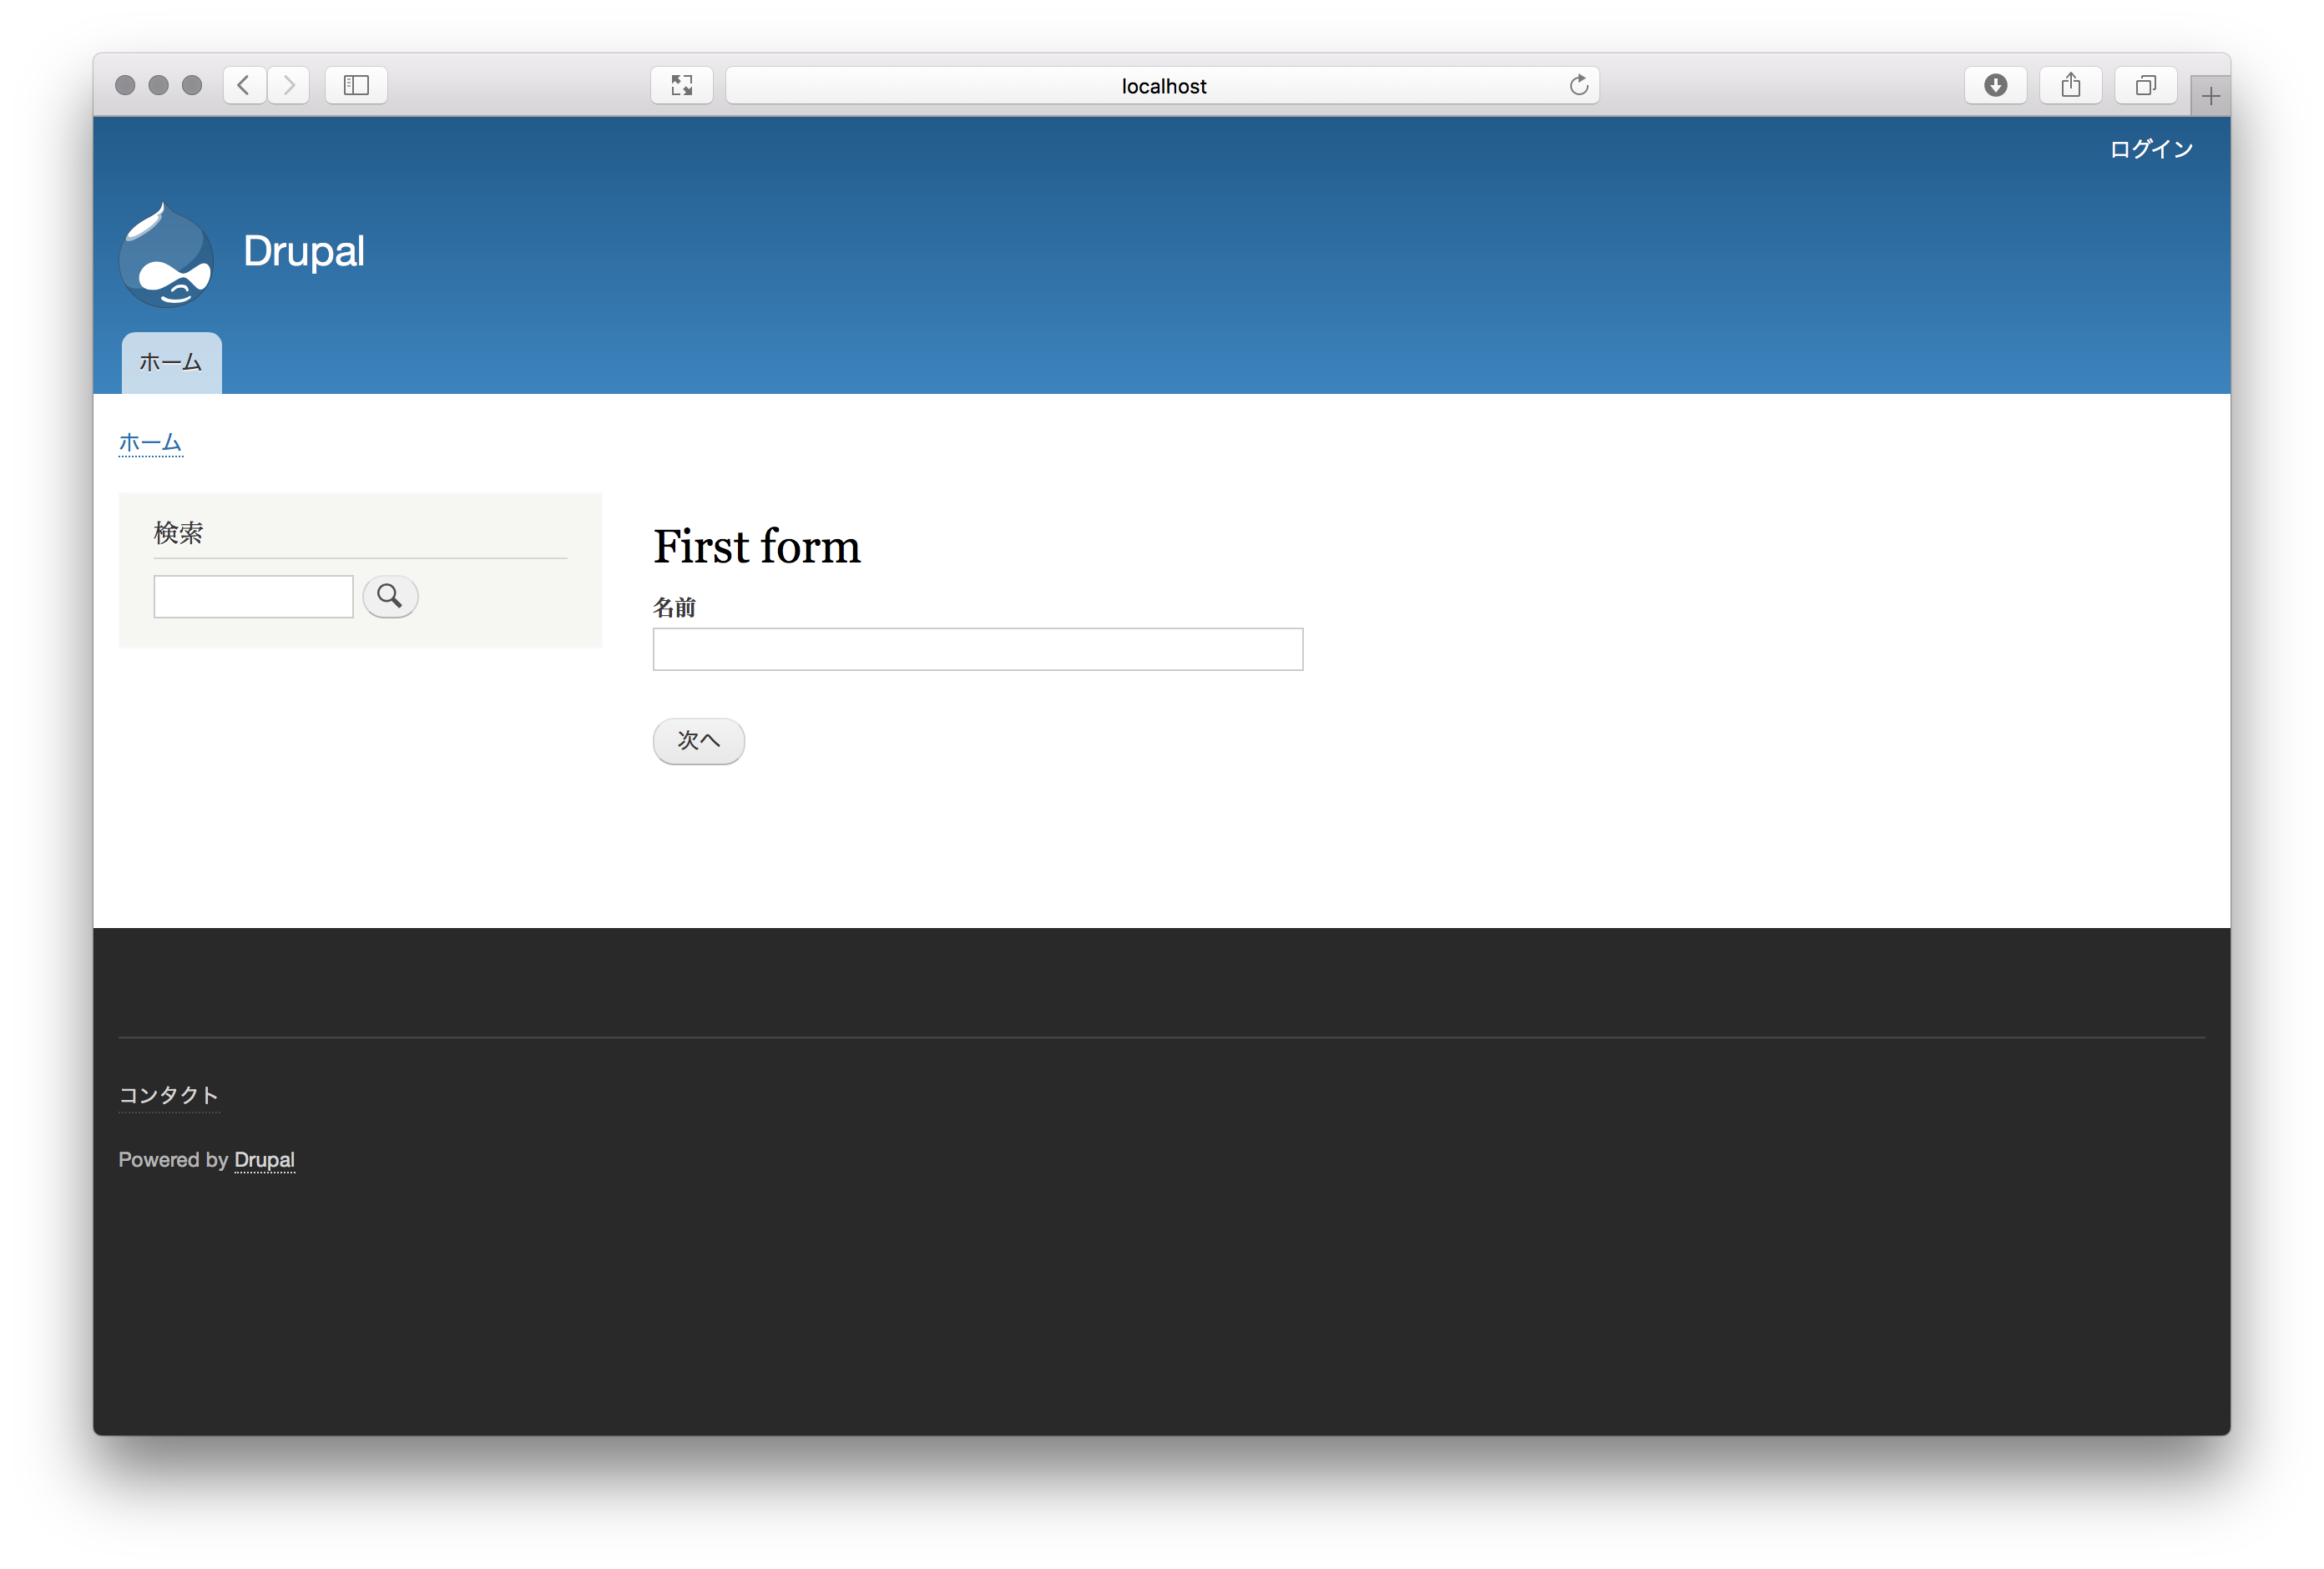
実際に動作を確認してみましょう。drupalサイトで/multi-step-form/oneにアクセスしてみましょう。
ステップ1の画面
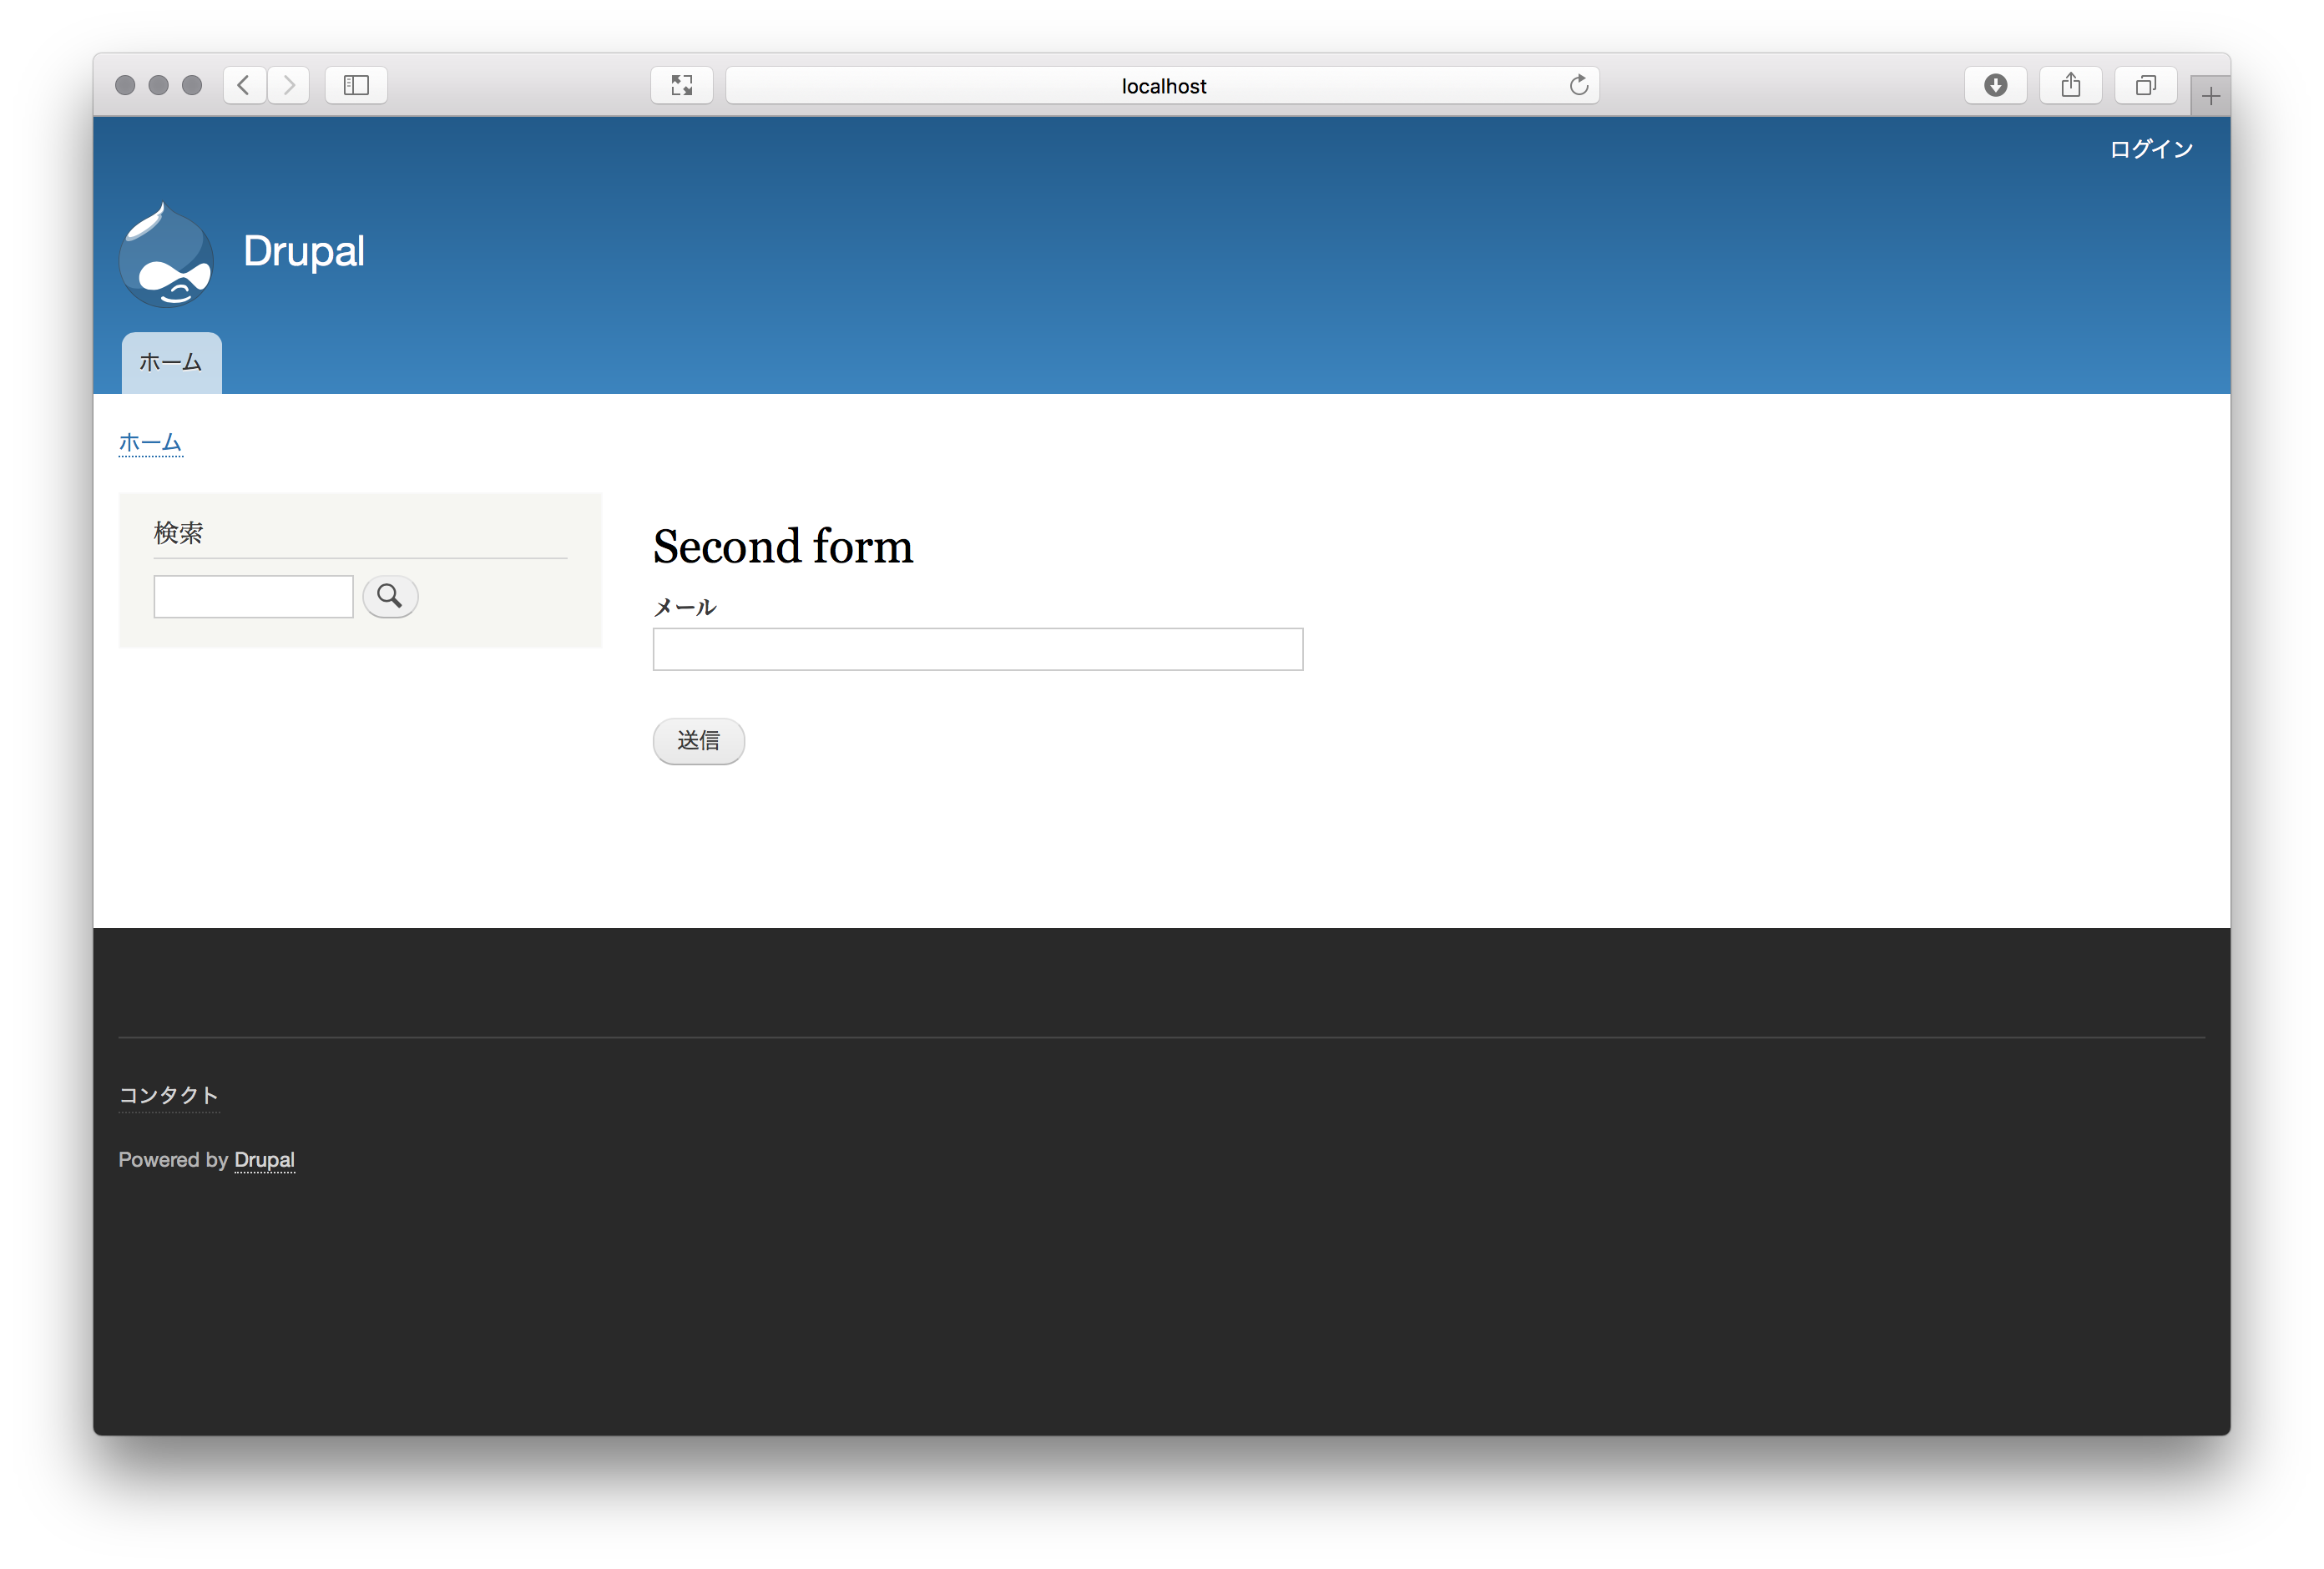
ステップ2の画面
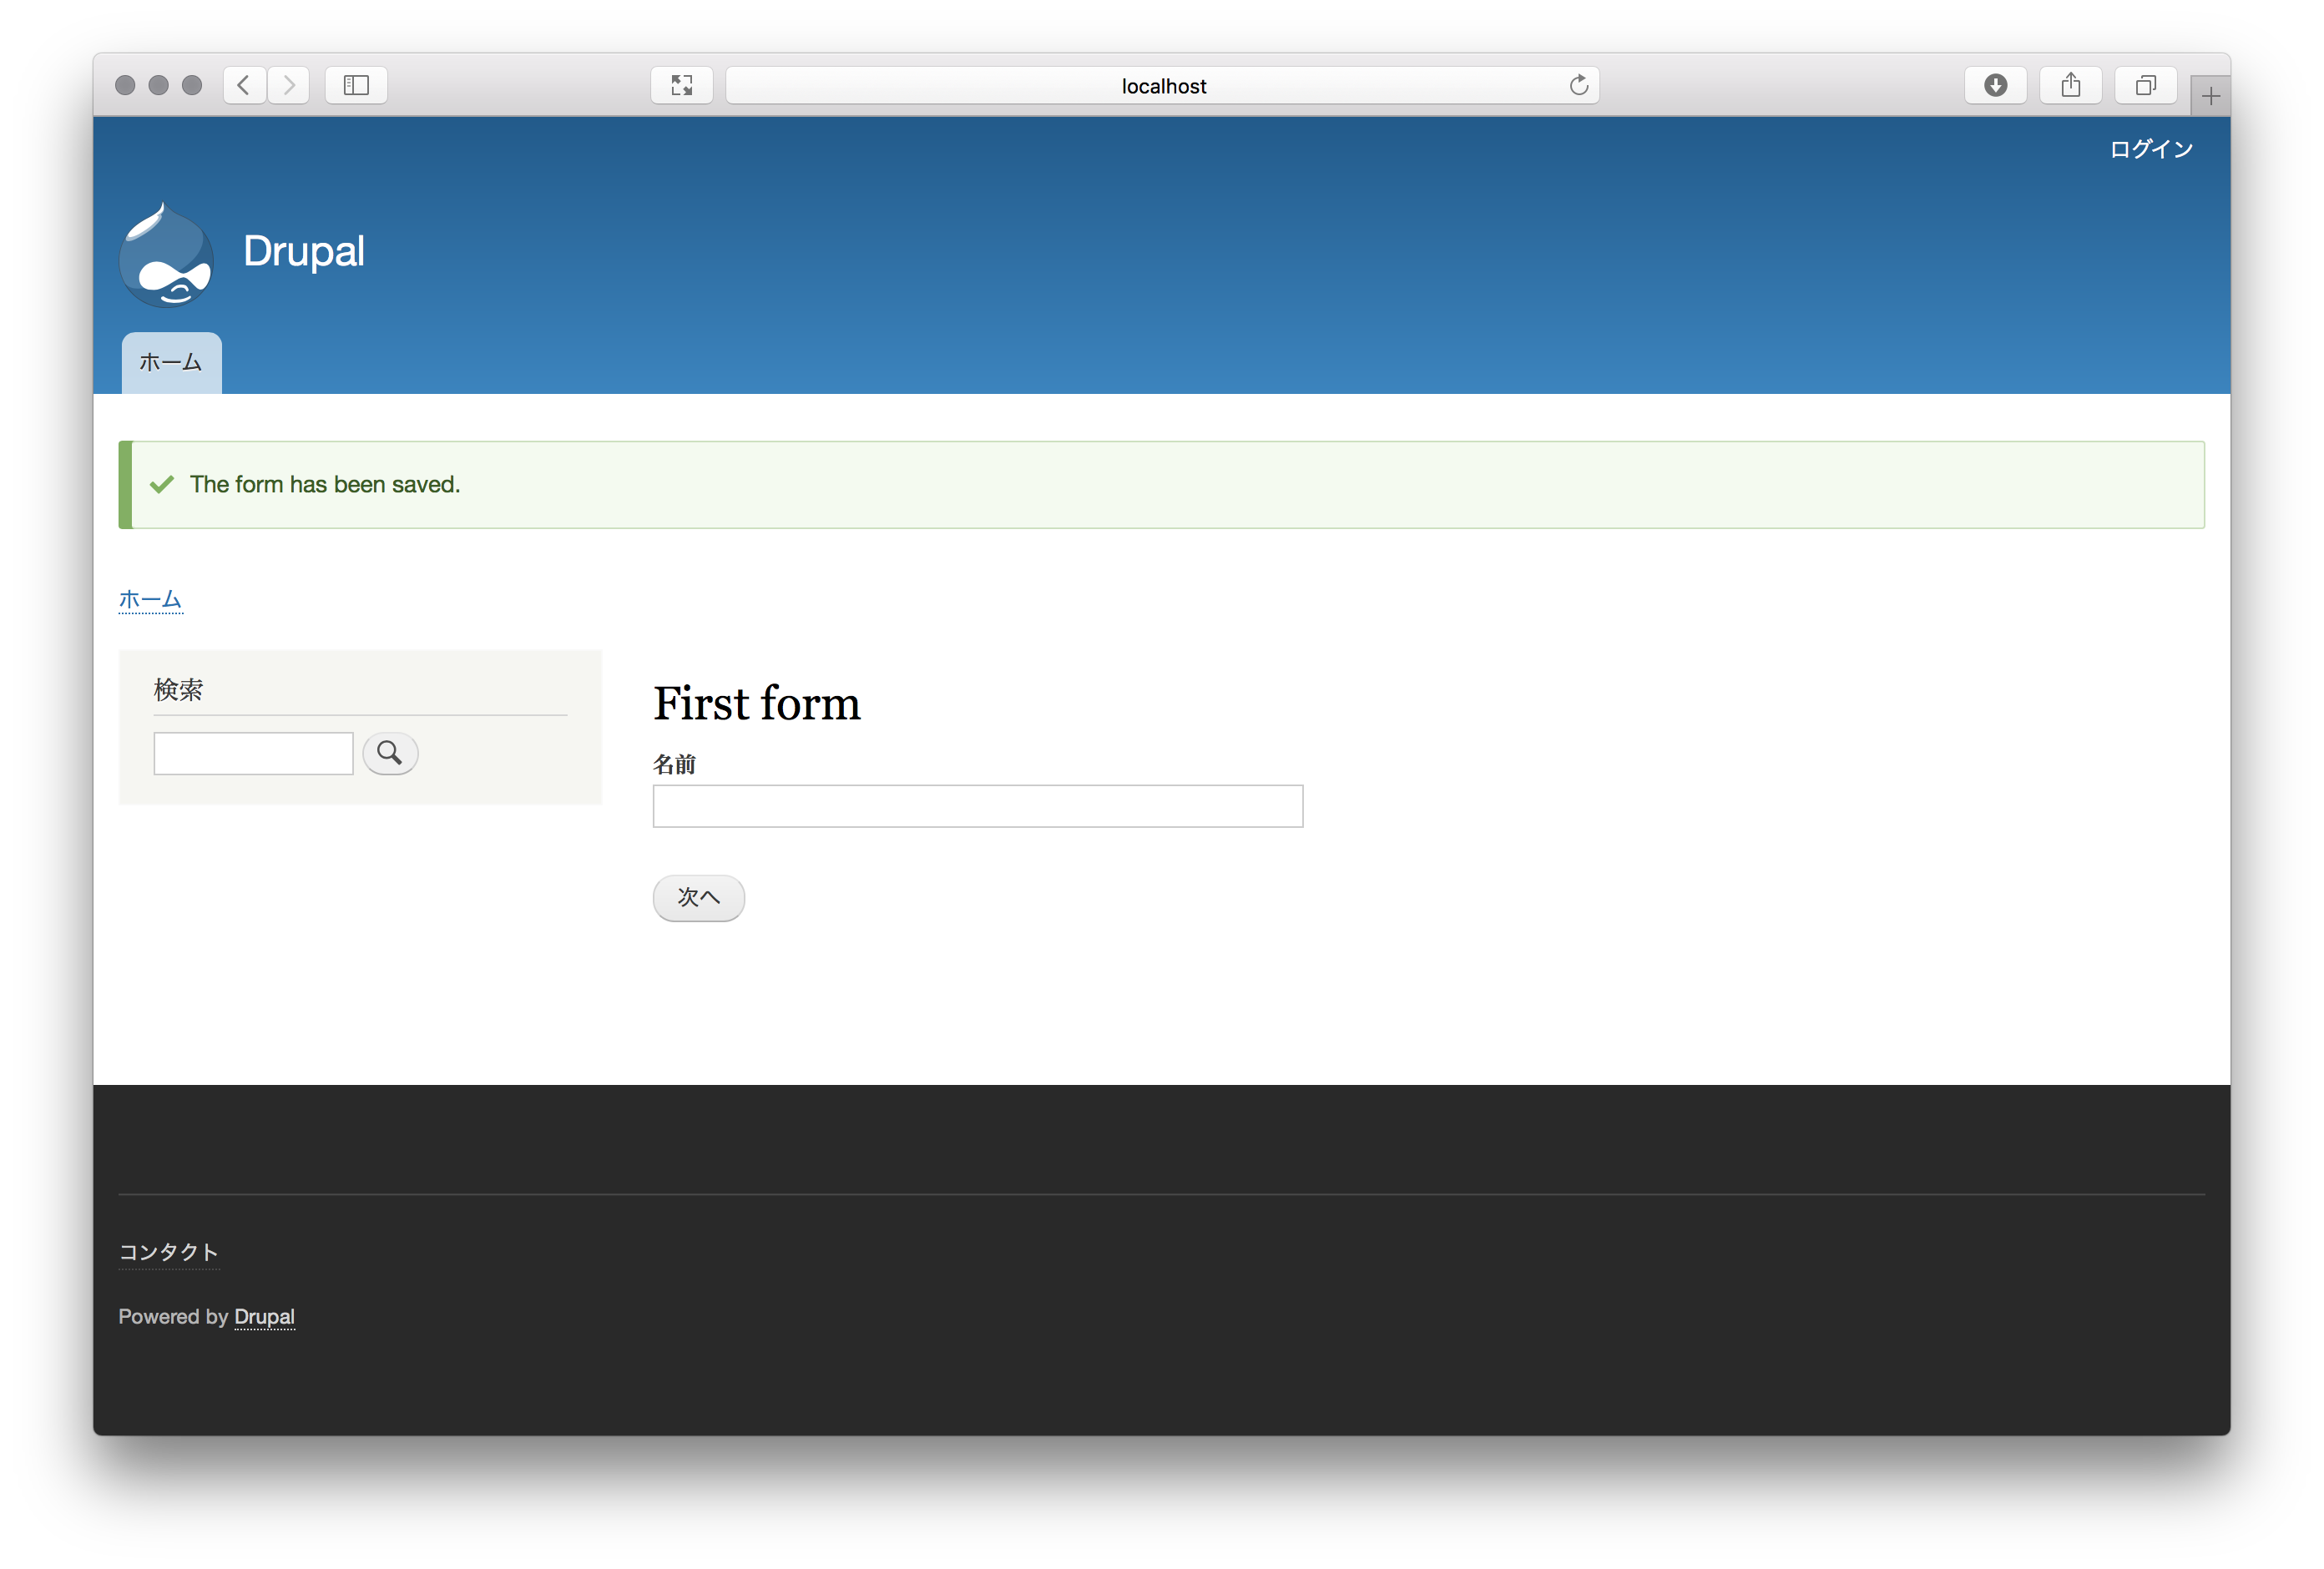
登録完了後の画面(ステップ1のフォームにメッセージが表示されています。)
さいごに
どうだったでしょうか?通常のフォームに一手間ですが追加することで比較的用意にマルチステップフォームを実装できます。フォーム別にクラスを用意するので、プログラムの可読性も高くなるかなと思います。項目数の多いフォームなどでぜひ試してみてください!
参考文献
https://www.sitepoint.com/how-to-build-multi-step-forms-in-drupal-8/

この記事を書いた人: Ippei Sumida
関連コンテンツ
- Drupal 導入前に必ず考えたい「保守」のこと
- 手軽に本格的な Drupal のローカル開発環境を構築してみよう
- 9 つのシンプルなステップで Drupal 9 のテーマを作成してみよう
- Drupal 9: 一般的なエクスプロイトの経路をブロックする方法
- エンジニア新人研修のご紹介
- Headless CMS というトレンドに Drupal は適応している!?
- Drupal 9.1 が登場!アップグレードの準備はできていますか?
- Drupal 9 におすすめのモジュール
- State of Drupalプレゼンテーション(2021年4月)
- 第 16 回 Drupal をもっと知りたい方に向けた各種情報
Drupal 初心者講座バックナンバー
-
 Drupal 9/10 初心者講座
-
第 1 回 歴史に見る Drupal の DNA
-
第 2 回 Drupal はフレームワークか?CMS か?他の CMS との比較
-
第 3 回 Drupal の特徴
-
第 4 回 Drupal 9 / 10 のインストール (1)
-
第 5 回 Drupal 9 / 10 のインストール (2)
-
第 6 回 Drupal にコンテンツを投稿してみる
-
第 7 回 Drupal のボキャブラリとタクソノミーの使い方
-
第 8 回 コンテンツ管理における Drupal と他の CMS との比較
-
第 9 回 Drupal のブロックシステム
-
第 10 回 Drupal の標準クエリビルダー Views の使い方
-
第 11 回 Drupal と他の CMS のクエリビルダー機能を比較
-
第 12 回 Drupal の多言語機能と他の CMS やサービスとの比較
-
第 13 回 Drupal の権限設定と WordPress や Movable Type との比較
-
第 14 回 Drupal のテーマシステムについて
-
第 15 回 Drupal の拡張モジュールの選定と使い方
-
第 16 回 Drupal をもっと知りたい方に向けた各種情報